Titsboard
Mechanical keyboard with integrated USB 2.0 hub
Enough has been said about the advantages of mechanical keyboards. Everywhere, their reliability is noted in comparison with membrane ones, a pleasant sound and a specific tactile response from each press.
But there is also a significant aesthetic aspect, otherwise why such a variety of colored keycaps and switches, such a phenomenon as artisan keycaps, the fashion for twisted cables, etc. After studying the thematic subreddit, I came to the conclusion that the participants there have a certain resemblance to repulsed audiophiles. I can’t say anything about the “warm tube sound”, but here I like buttons made of transparent resin with fishes :3
There are also adepts of advanced ergonomics, with their own, completely insane at first glance, designs.
And so, I saw enough of all this diversity, and decided to make myself a keyboard.
Make it almost from scratch, because despite the huge number of kit, all of them did not quite suit me. And making changes to open source projects like Discipline seemed more difficult to me than designing a keyboard board myself. After all, I wanted both compactness and the presence of a USB hub.
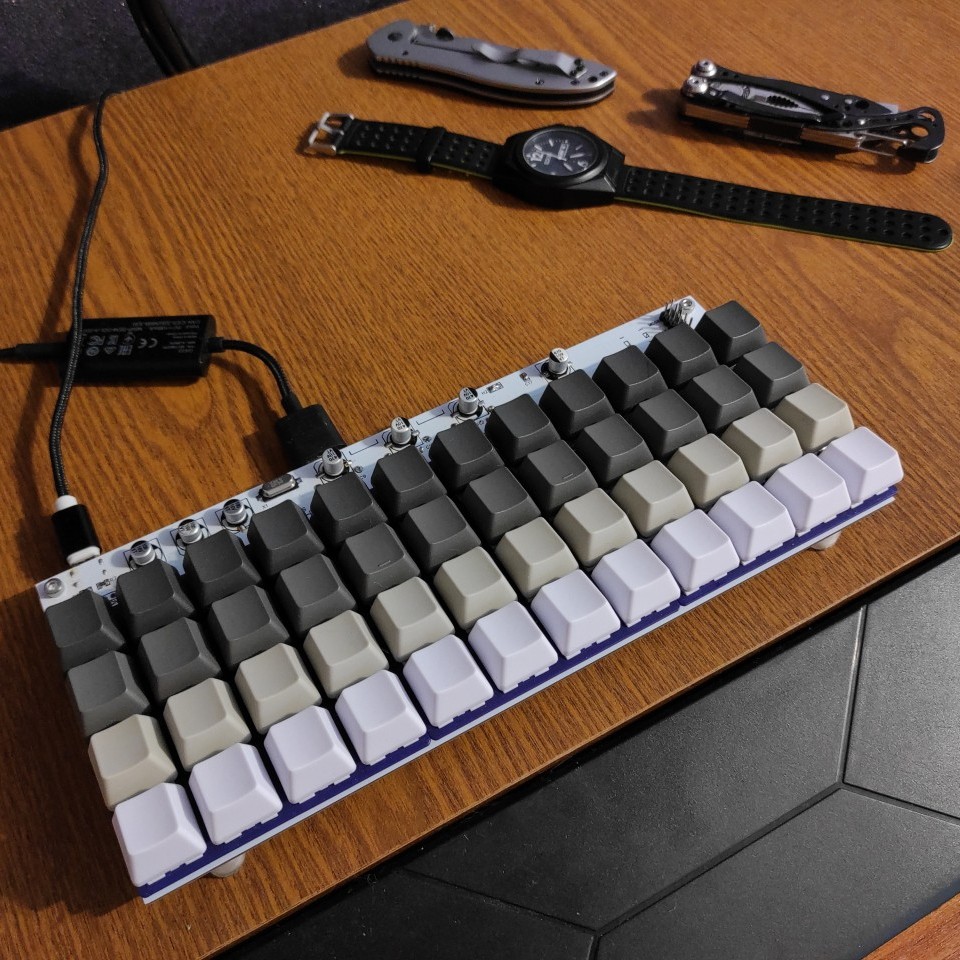
This is how the “titsboard” project was born.
The name was chosen by my followers on instagram, first suggesting this option in a poll, and then voting for it.
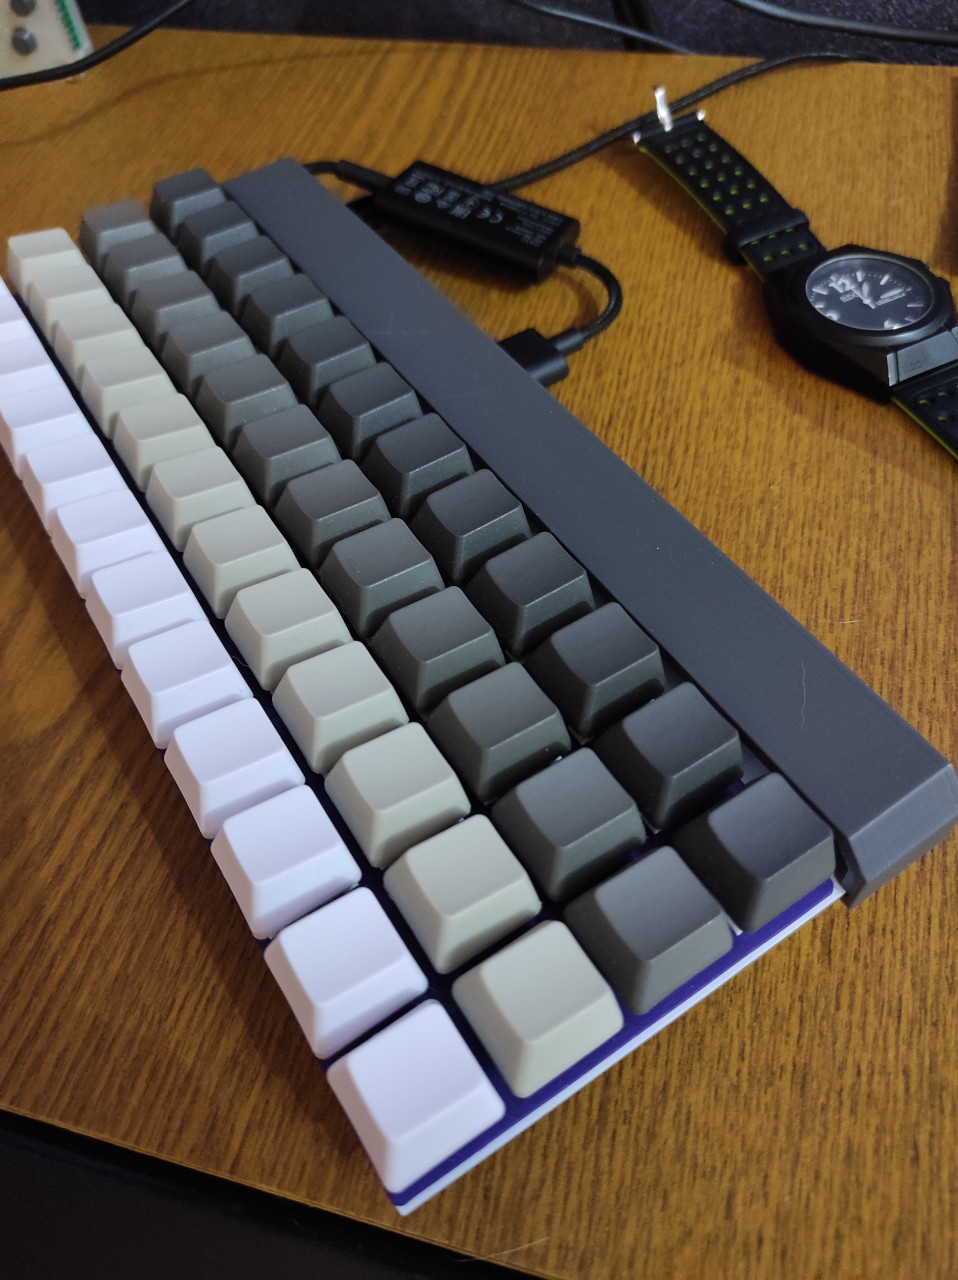
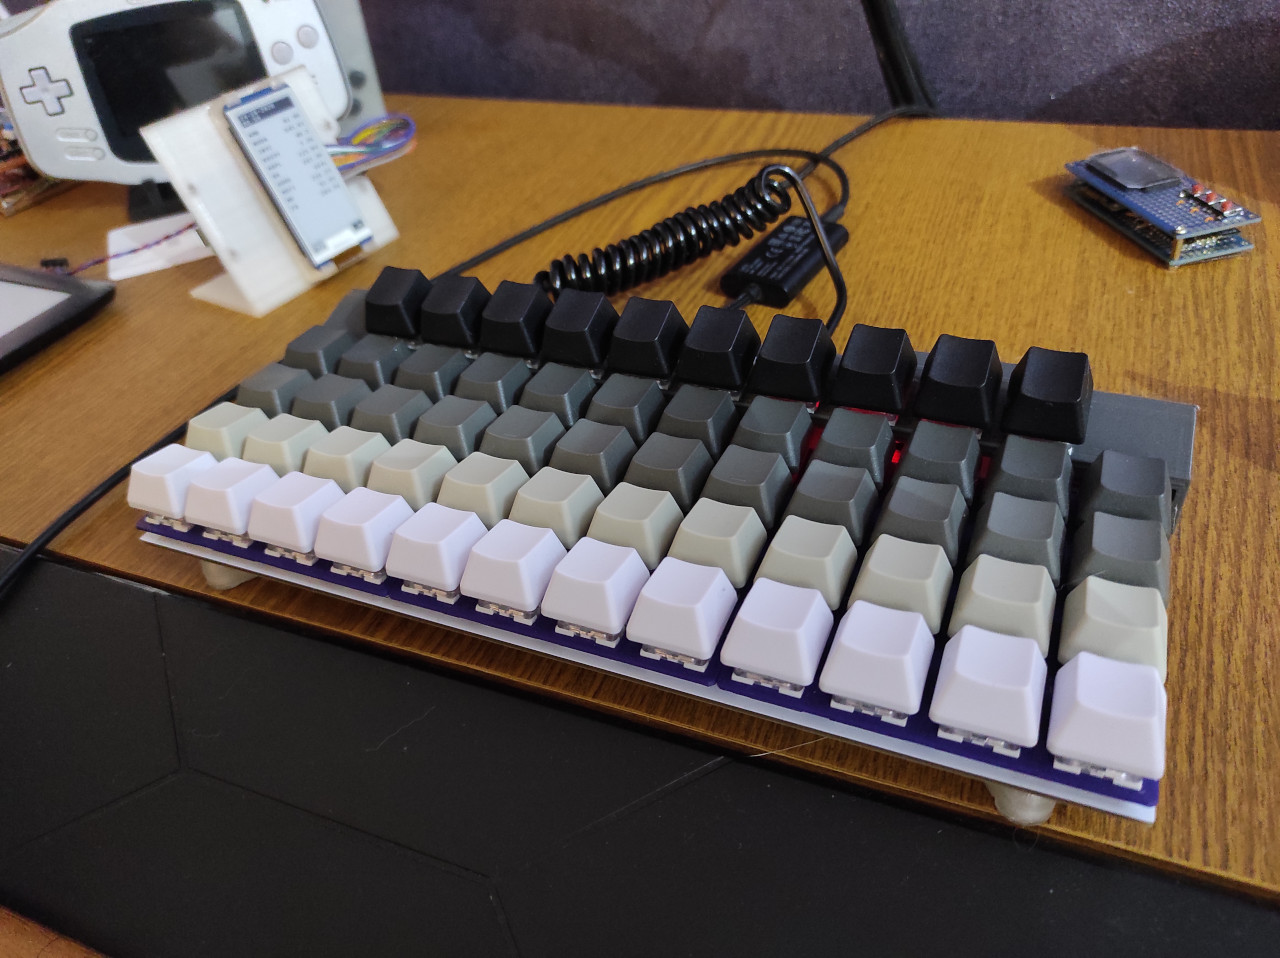
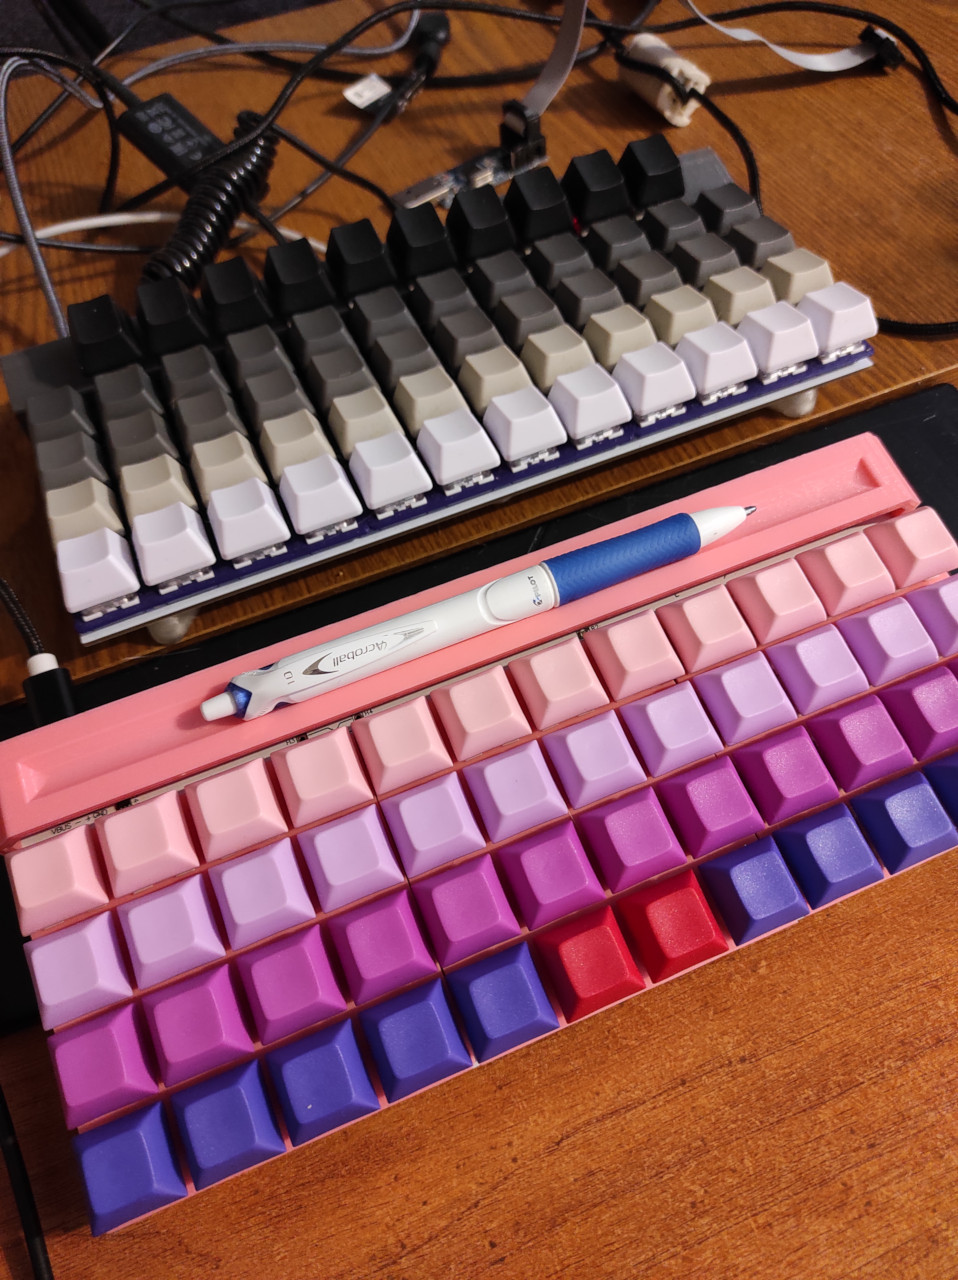
I planned to achieve compactness by leaving only 40% of the keys from their usual number (104), and using only 1u size keys. Thus, a rectangular matrix 4x12 was choosen.
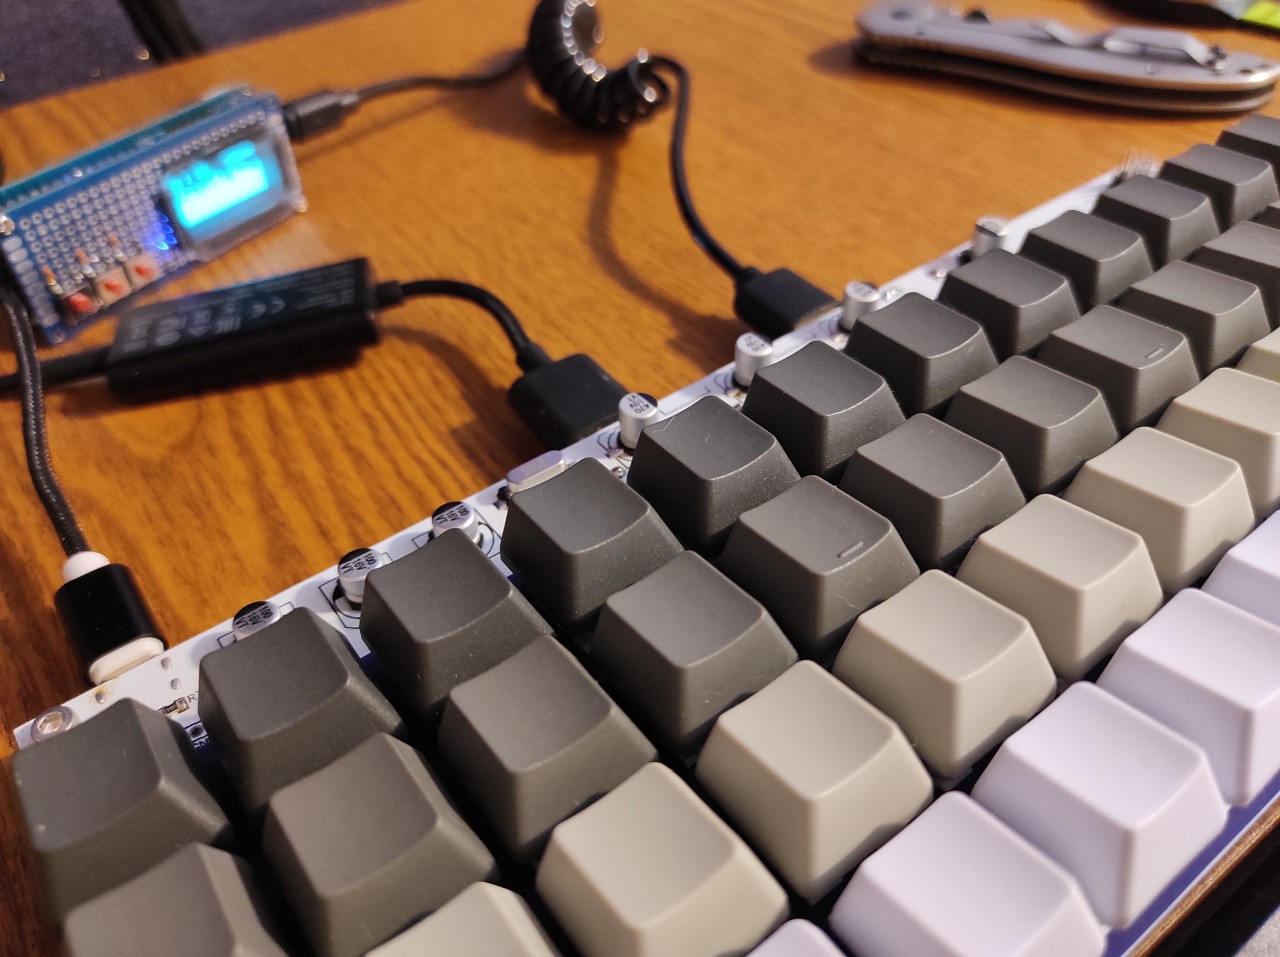
Everyone is usually interested in where the space bar is. So there are actually two of them here - these are the keys in the middle of the bottom row. The fact is that wide keys need a stabilizer, and I was not sure about the accuracy of the dimensions of the components in the editor (are the tolerances included in the outline?), and left it as it is.
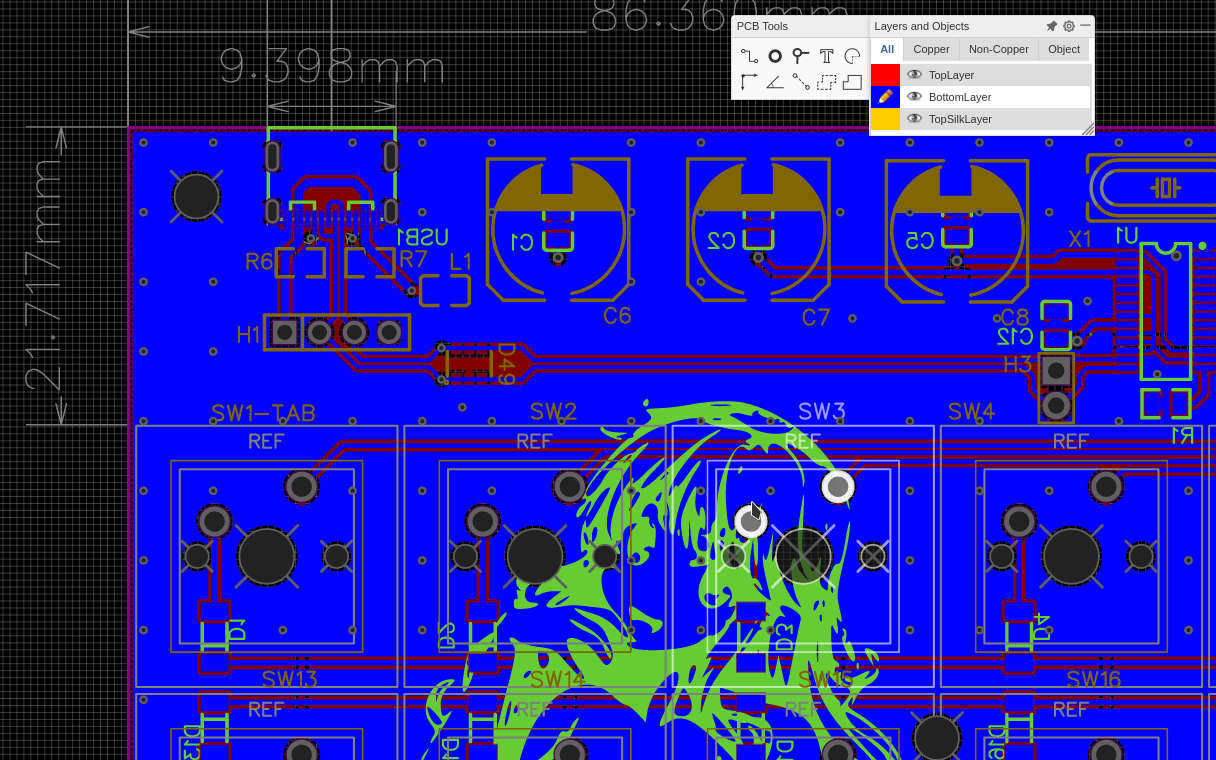
The board was designed in EasyEDA, a great modern online tool.
I would do something differently now, for example, I would arrange the capacitors more compactly. And quartz resonators would need to be placed just right , without vias and closer to the chips. However, despite some concerns (on the Internet they wrote that the hub chip is not stable), everything works fine.
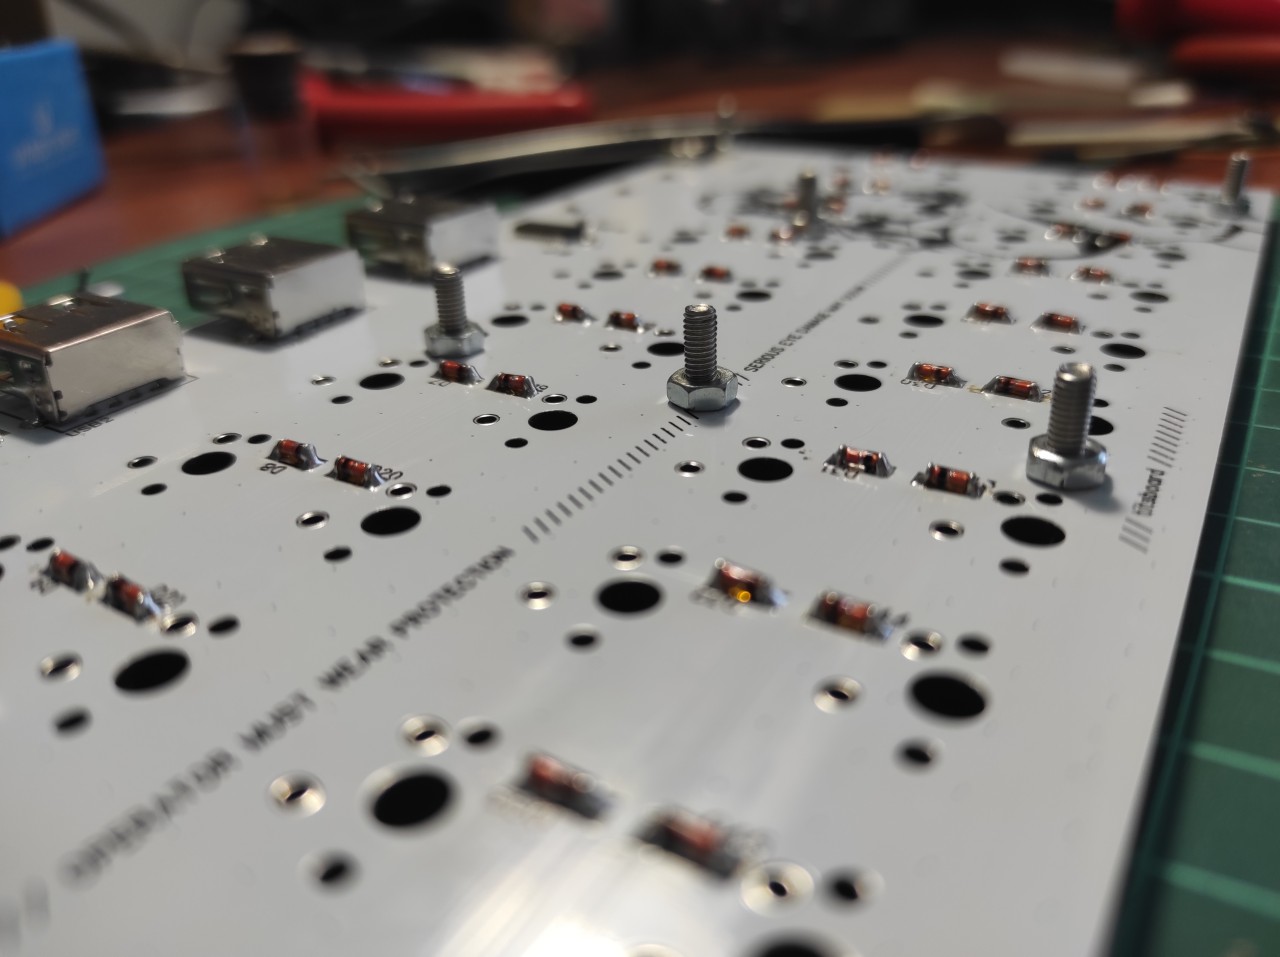
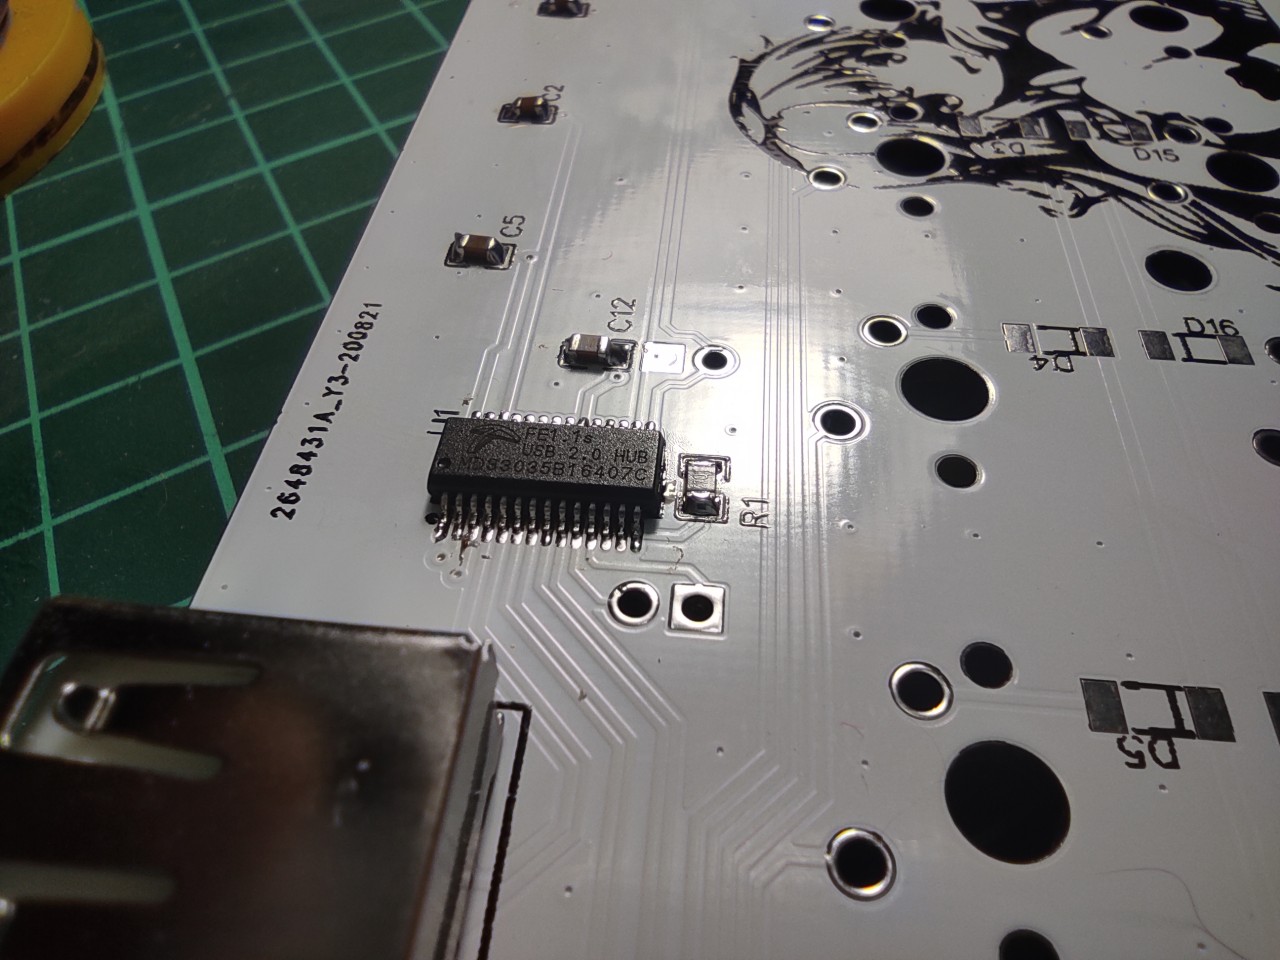
Hand-soldering some SMD components, and in particular the USB-C connector, was a little difficult - pins that were too close to each other instantly stuck together. Fortunately, this is easy to fix with a piece of copper braid. But in the future, I will now order solder paste templates.
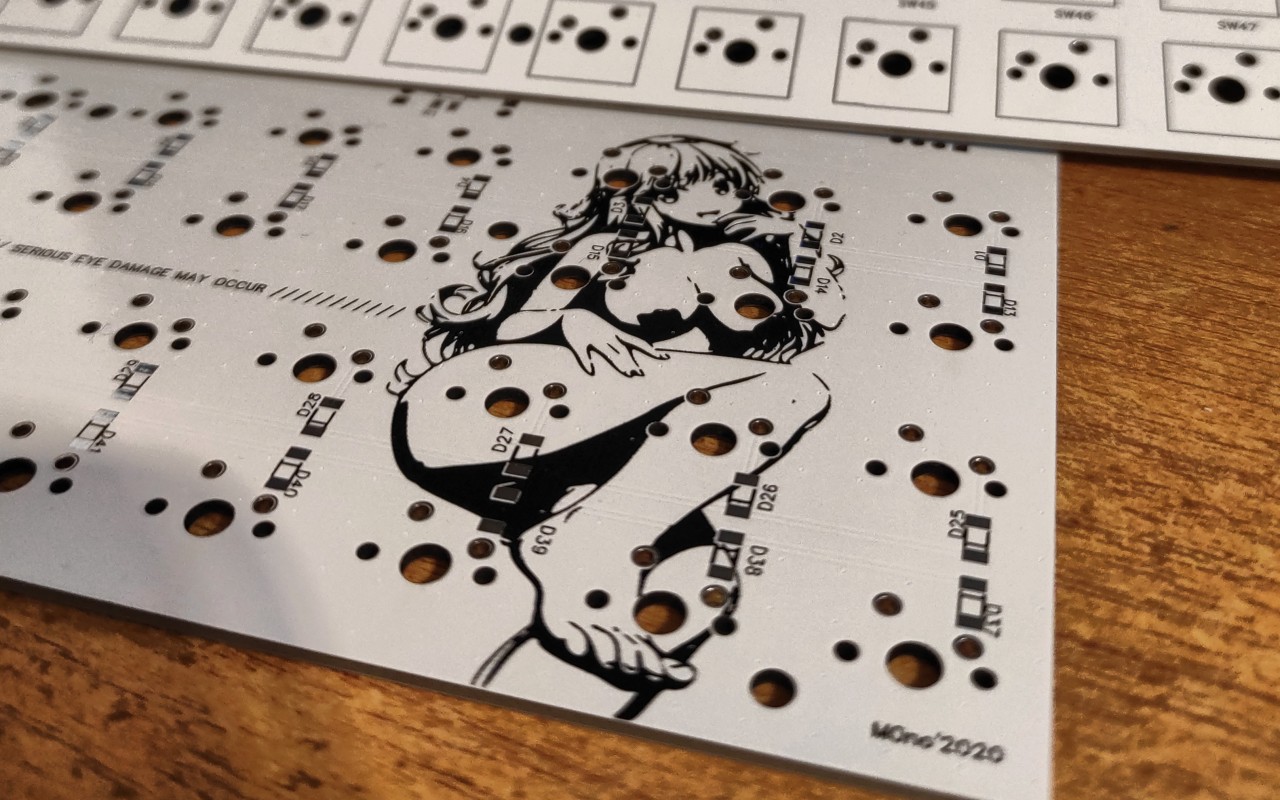
When all the electronics started working, I realized that the issue with the case was not completely resolved. I thought that I would order the lower part milled from duralumin and the sides of the keyboard would be closed. And at the bottom, a window was planned through which it would be possible to see the anime girl on the board.
But no, the cost of manufacturing such a part many times exceeded the cost of all other components. Therefore, the base of the keyboard is a skeletal structure of several printed parts.
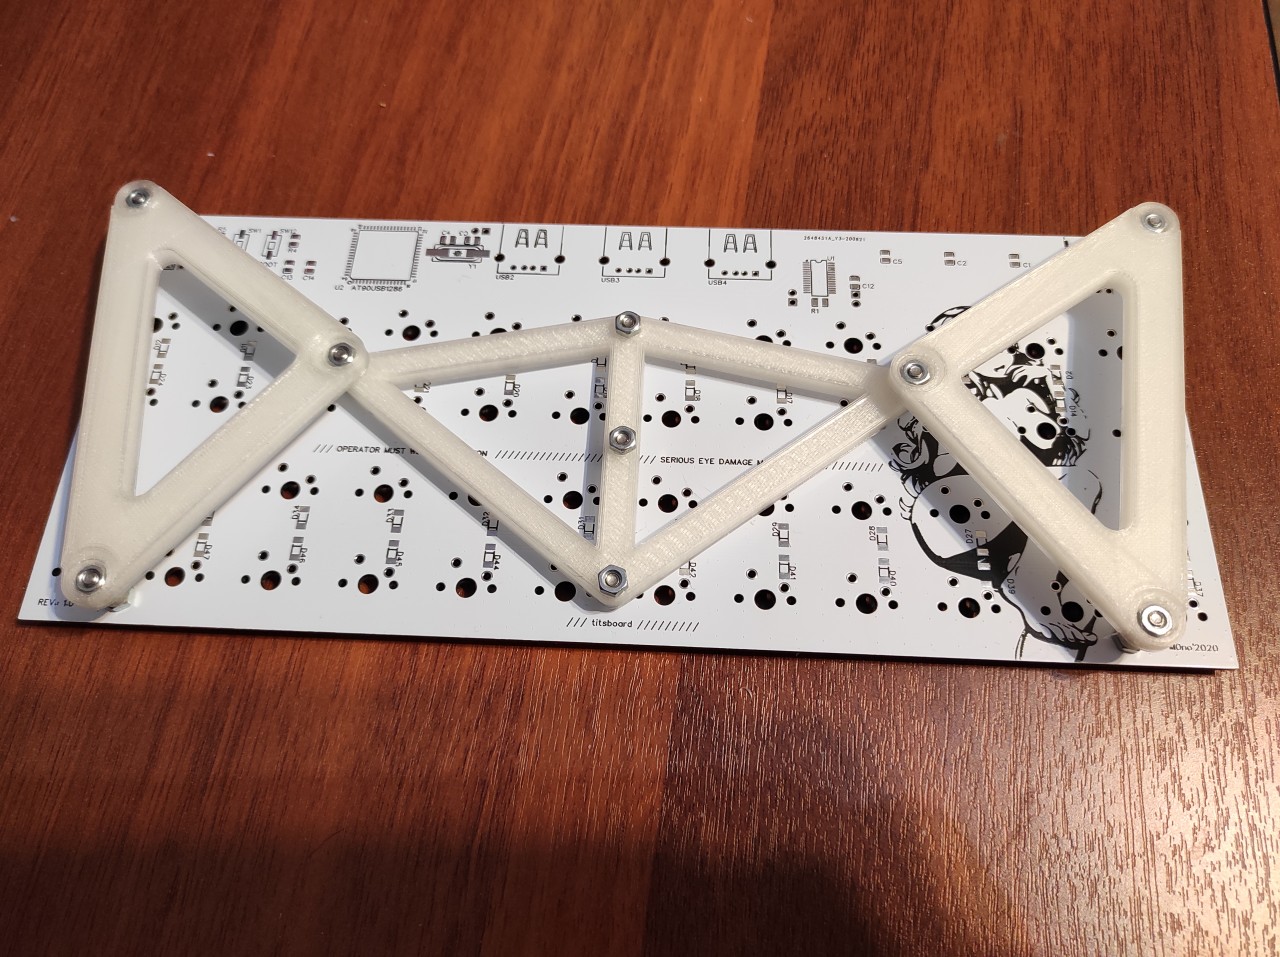
With such a solution, not everything is fine either - I badly arranged the screw holes so that it became impossible to print a base divided in half. There were concerns about the final rigidity of the structure, but as practice has shown, the keyboard does not flex during normal use. The 3d printed plate (actually three separate plates) in which the switches are attached gives it additional rigidity.
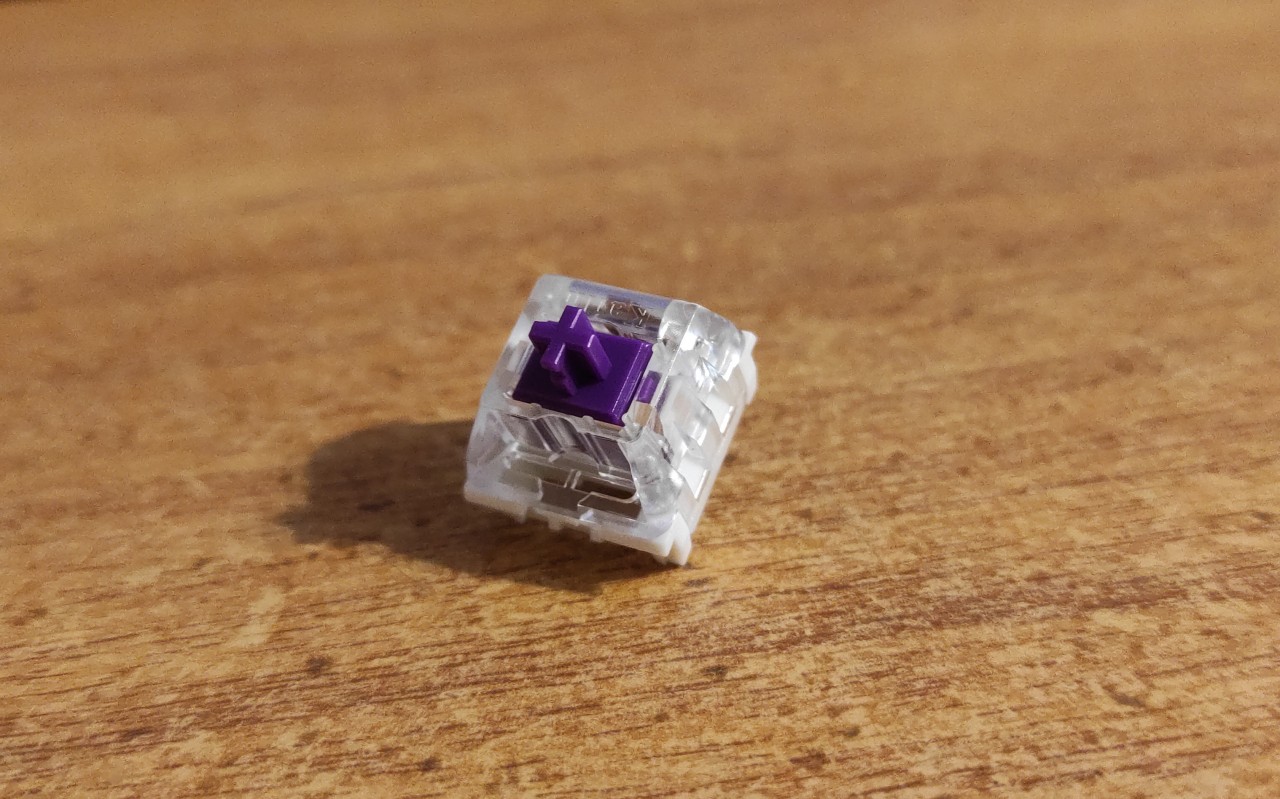
Switch selection is a matter of personal preference. At first, I wanted to buy Cherry MX Blue. I like how loud and clear they click. But, nevertheless, I chose Kailh Purple 50g - they are tactile and pressed with a little less effort than Cherry MX Black, which my previous keyboard was equipped with. And I like purple.
The keyboard controller is an Atmel AT90USB1286. Choosing it for such a small keyboard is a rather controversial decision, because it has quite a few unused pins left. They could also be connected to the backlight, a pair of rotary encoders and an OLED screen, and there would still be left.
But this is all I think to implement in the next version.
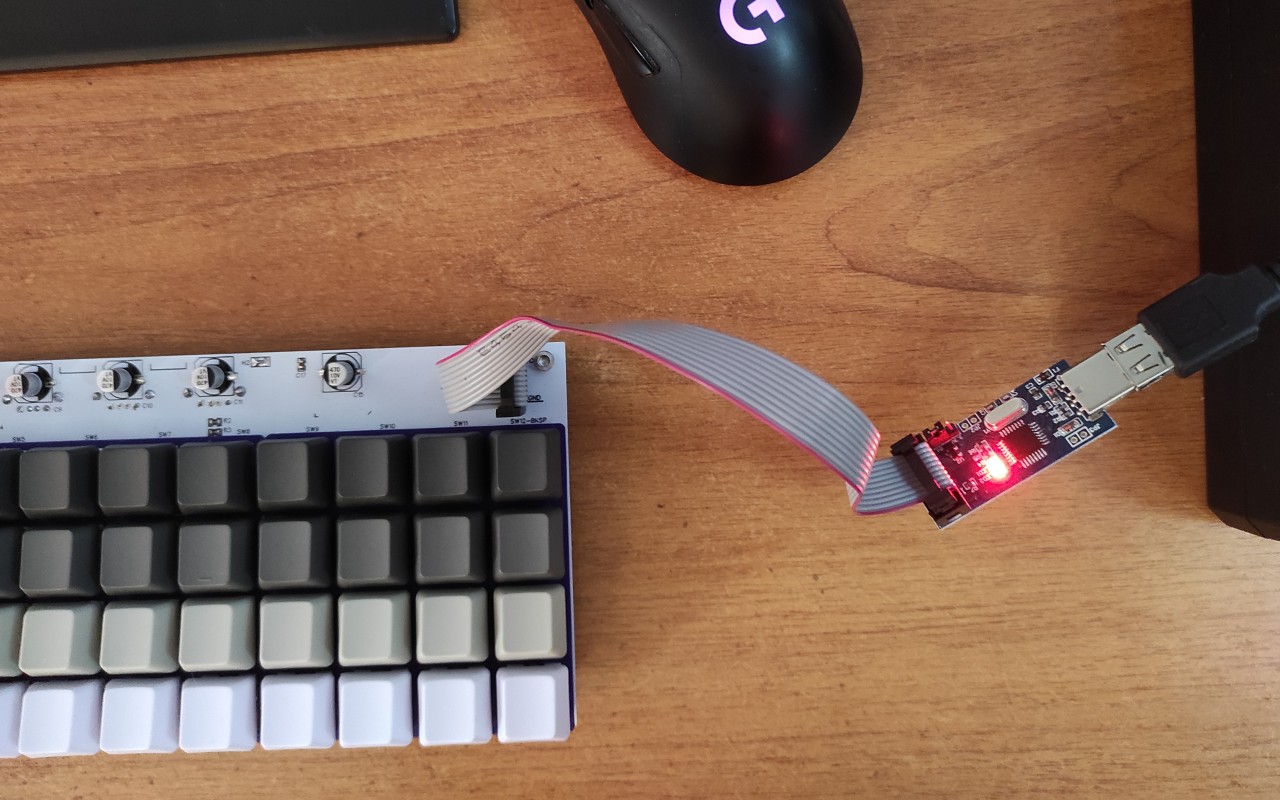
For the initial flashing of the QMK firmware to the controller, I used the USBAsp programmer. In the future, all updates are carried out using LUFA-DFU, after switching the keyboard to firmware update mode, for which a special button is provided on the bottom side of the board.
After several days of experimenting with the layout, I left the following option. It turned out 4 layers, which are activated by holding the keys MO1 to the left and MO2 to the right of the space(s).

There was a problem with the Russian layout - the letters B and Yu did not fit on the zero layer, and in order to type them, you have to press two keys. And for the capital three. I’m almost used to it, but for someone else who is forced to use my keyboard, it will be difficult.
And here’s why:
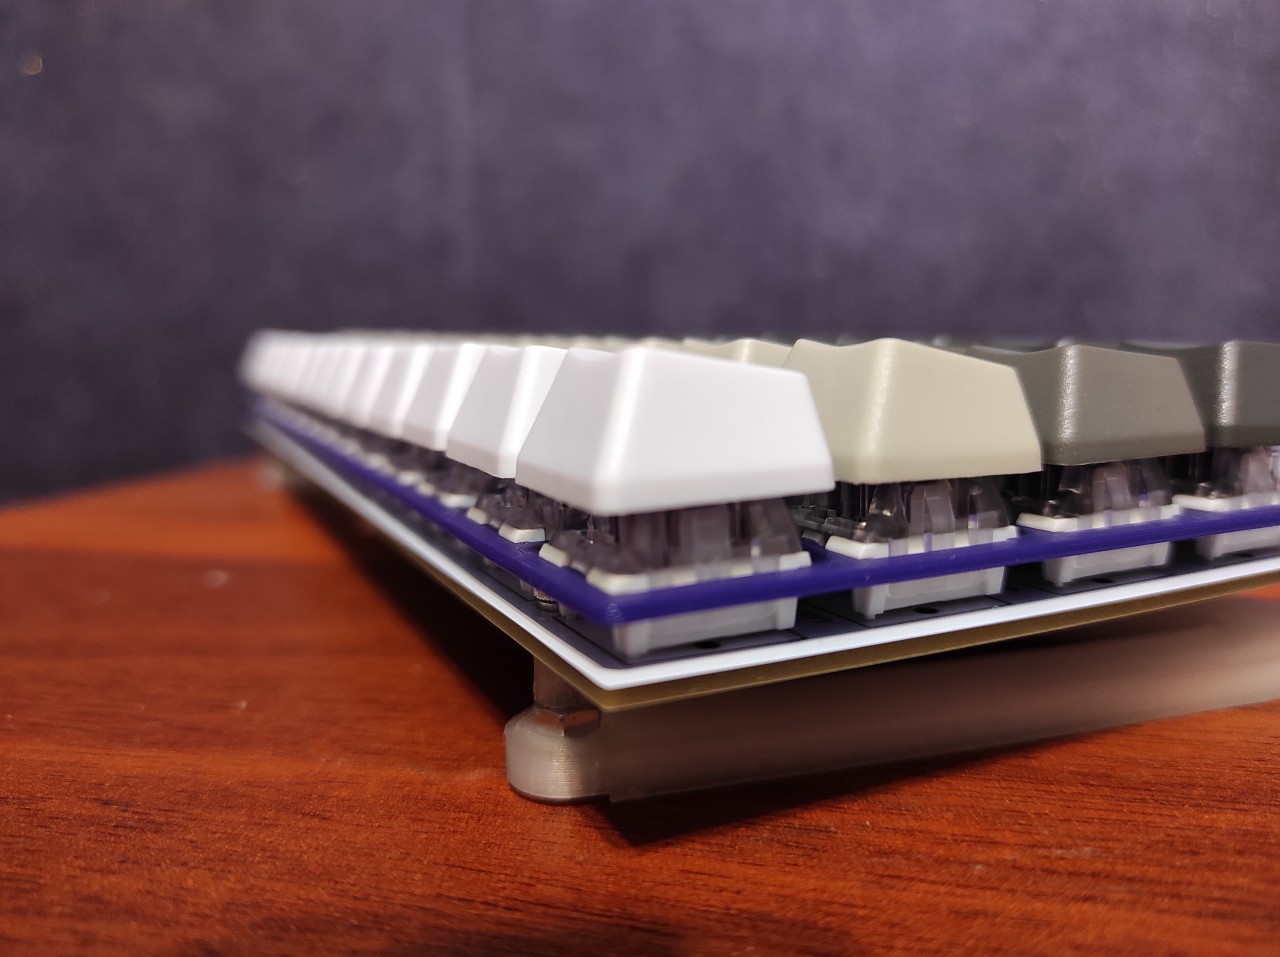
Blank keycaps.
I considered the option with laser engraving and sublimation printing. But one wrong move will irreparably spoil the appearance of the keyboard as a whole.
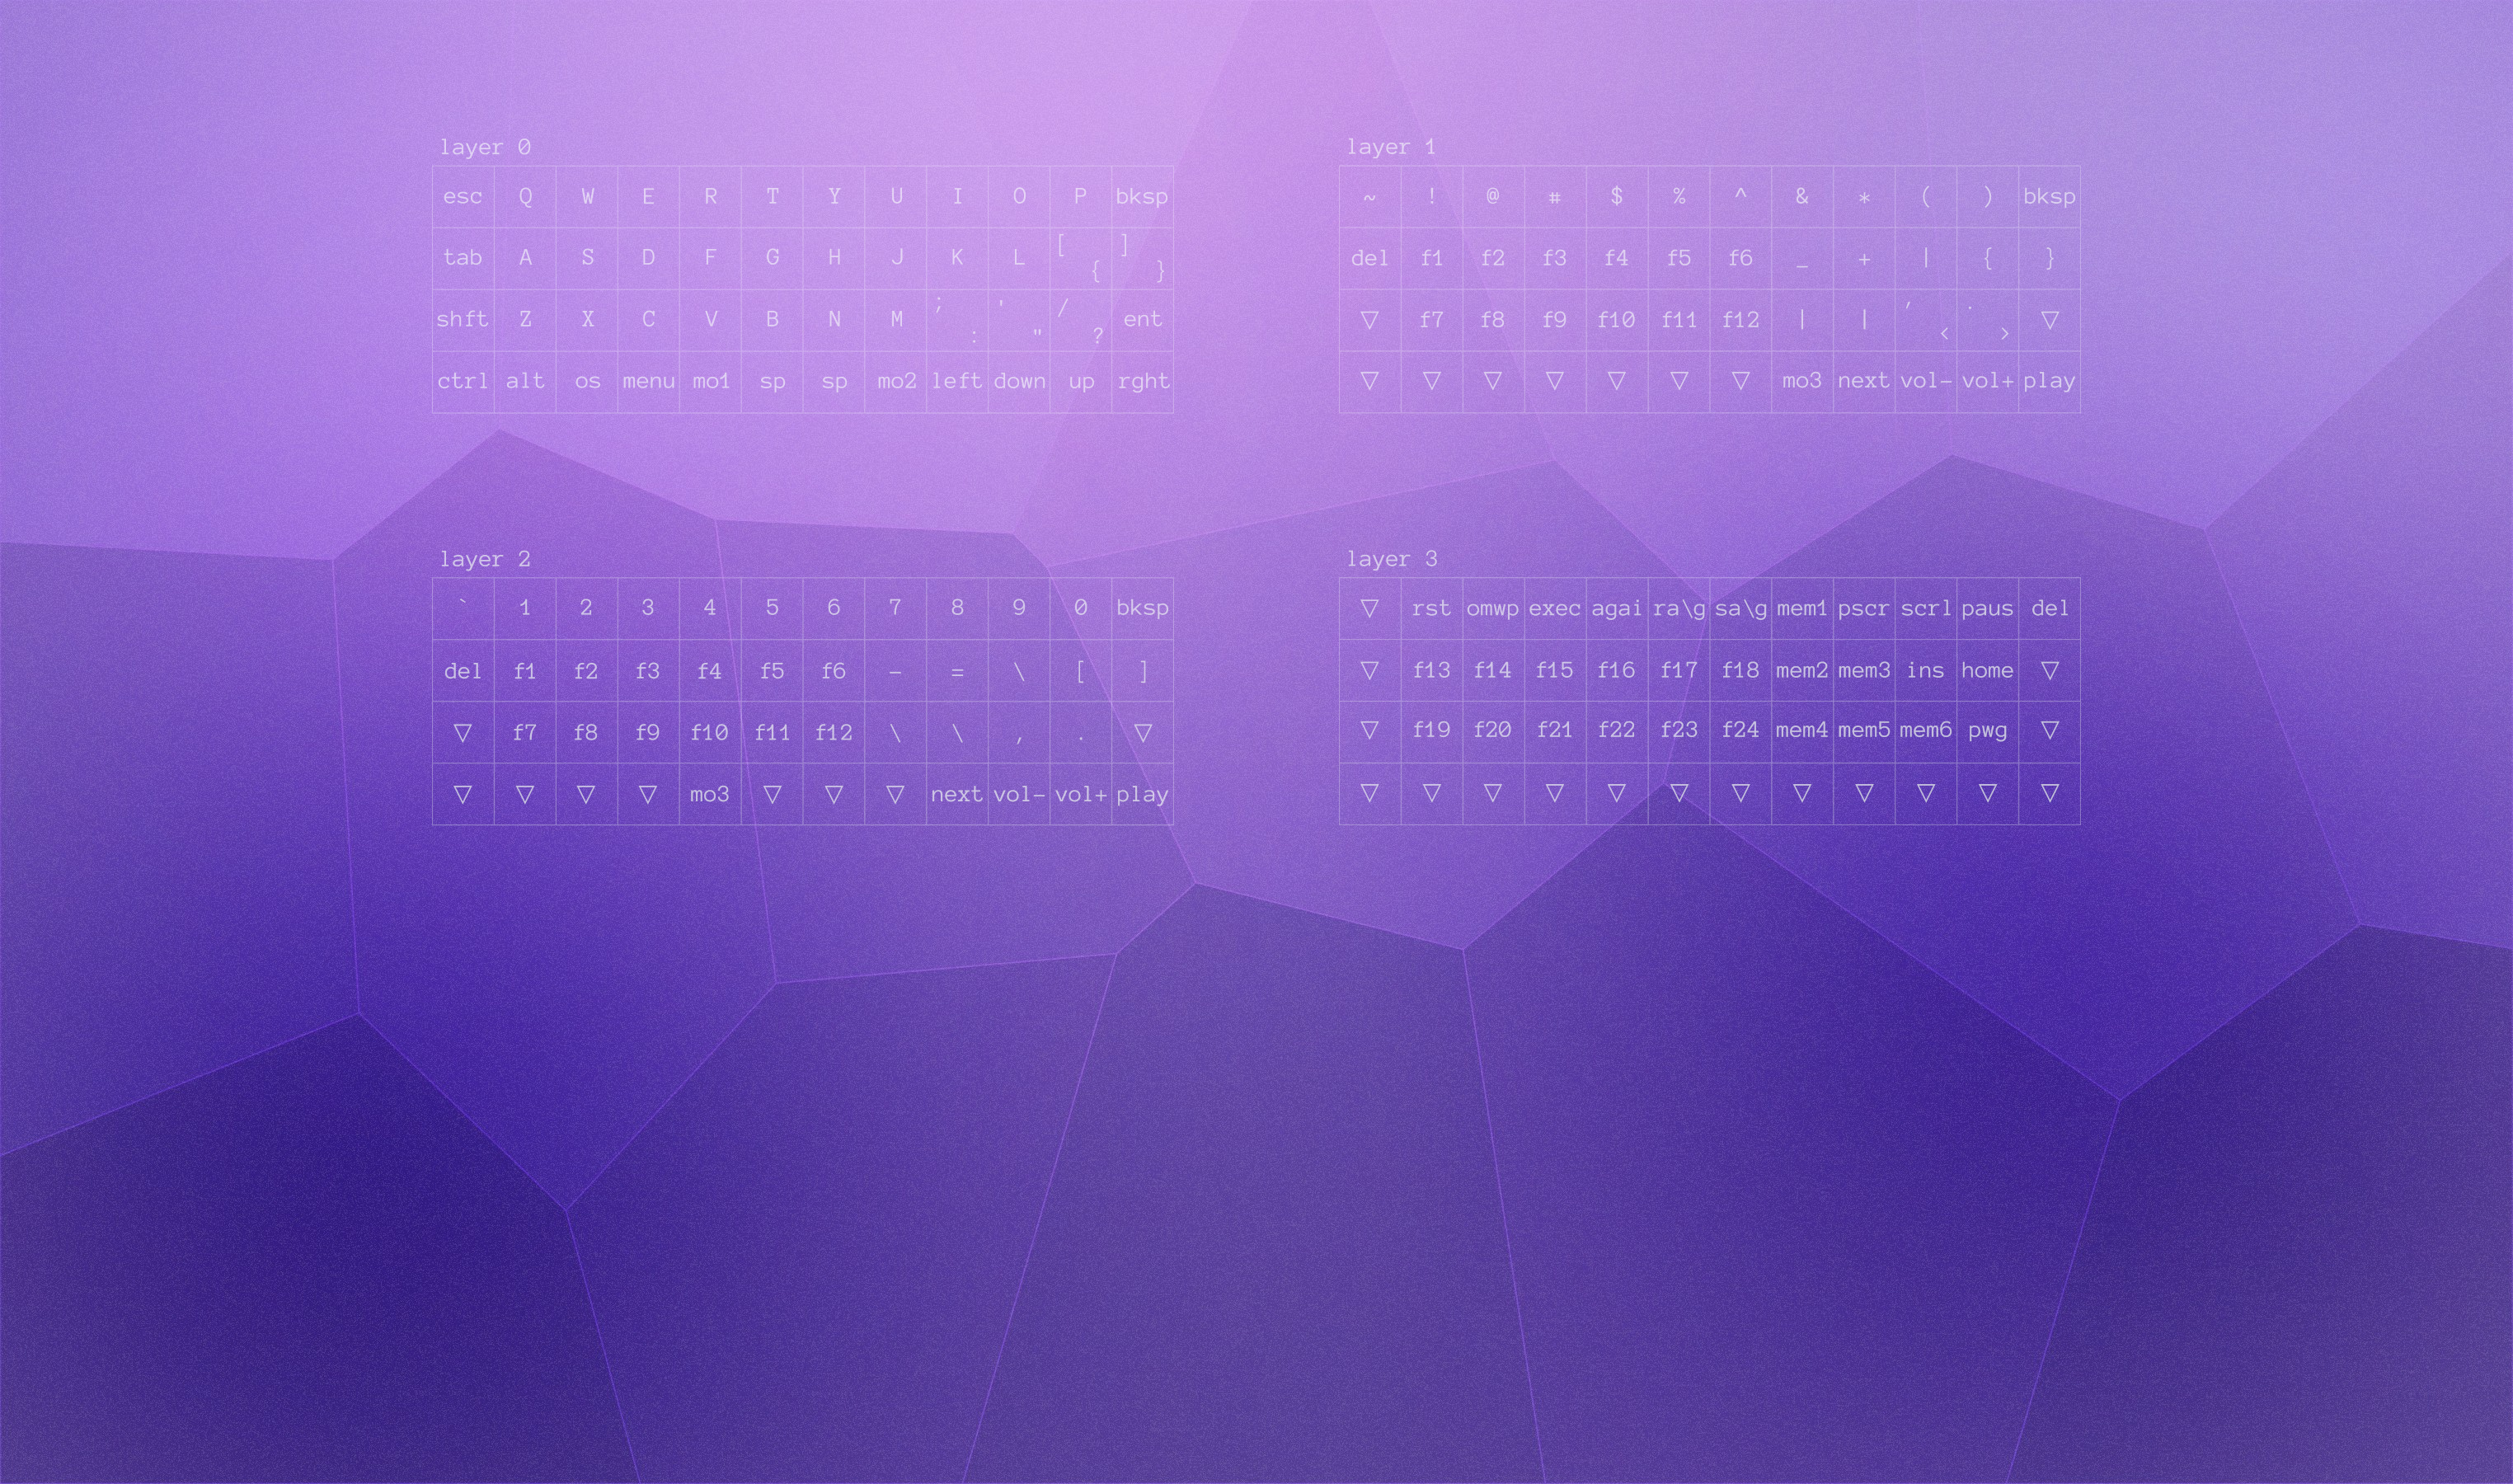
So I made myself a temporary memo and made it my desktop wallpaper until I remember the location of all the keys. Sometimes I look where is the PrintScreen.
Why not immediately order caps with signatures? Because I didn’t like them all. Those sets of 1u caps that Aliexpress offers are all kind of crooked and miserable.
Of the additional functions implemented in the firmware, I will note six keys reserved for quick input of text emoticons ¯\_(ツ)_/¯
And the password generator function, which I spent an unacceptably long time implementing and debugging.
On the other hand, random numbers are generated with a uniform distribution, and the password is obtained without ambiguous characters, and then it is forcibly removed from the microcontroller’s memory. Here is a strong password for you: 9RNJ-T^$a-zFCf. Use it for your email, for example ;)
Quite by accident, I also got a system of accessories. For example, you can cover the top of the keyboard with a simple shroud (on which you can put something), or connect another keyboard with a row of number keys to the keyboard. And they can also be printed in a different color so that there are interchangeable panels to suit the mood, like the phones of the 2000s .
By publishing this article, I can consider the project completed.
Thank you for your attention, and remember:
Operator must wear protection! Serious eye damage may occur!
Links
License
- Code - GPL v2
- EasyEDA project - CC BY-SA-NC 4.0
- Images - CC BY-SA 4.0
m0nochr0me
April 29, 2022